


1. Create VPS with Google Cloud
You can create your own web server from Google with Google Cloud. Right now Google gives you free $300 credit, which you can use for Google services. In this article, I will tell you how to create a free VPS with Google Cloud and connect to it from your PC/Laptop through SSH.
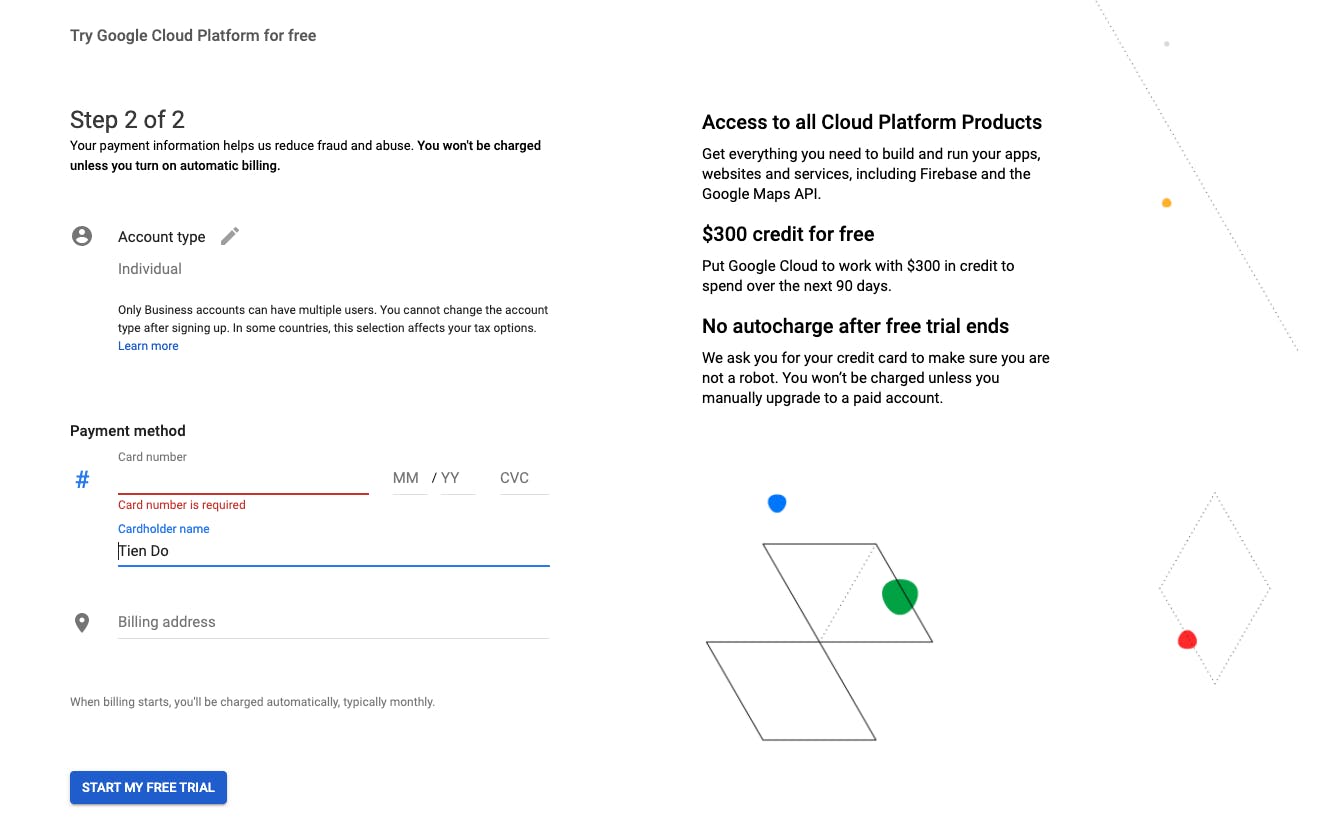
In order to receive $300 gift balance, you need to start a Google Cloud trial: https://cloud.google.com/
You need to verify your payment with your credit card. (Be sure that there are at least $1 on your credit card)
After verifying the payment, choose "Go to Compute Engine" and then Active trial Status on the top right
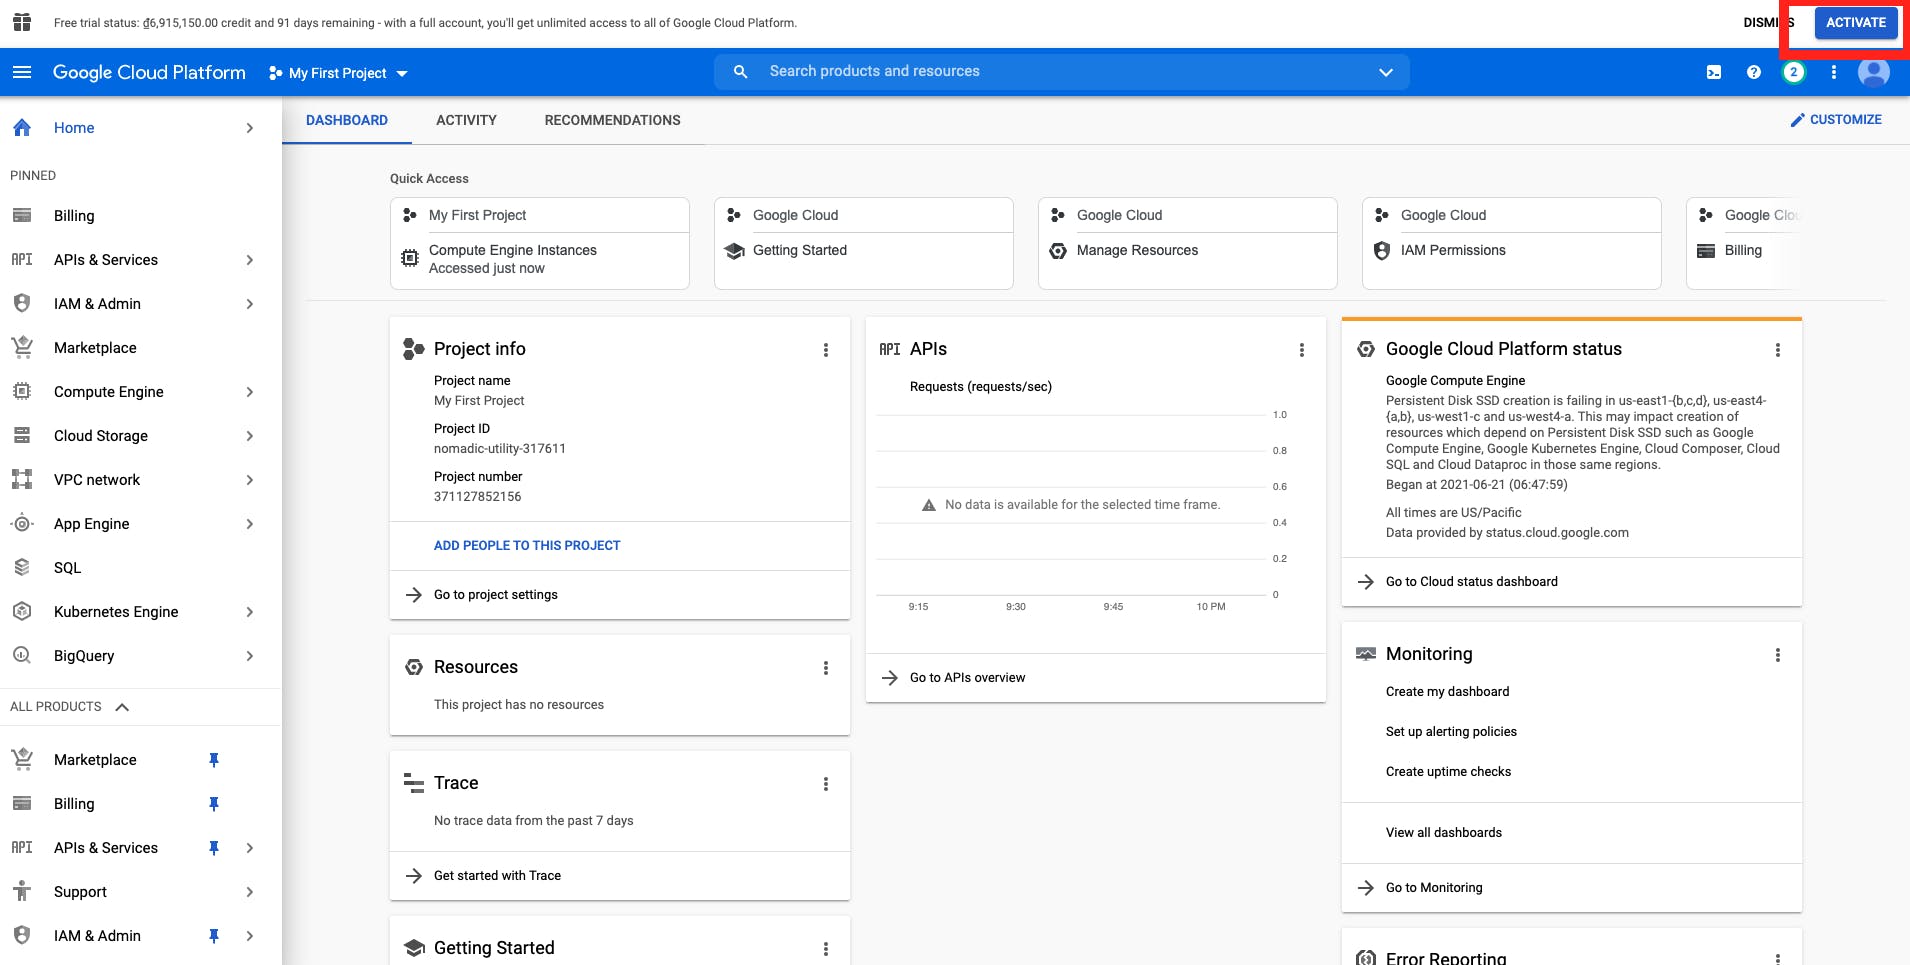
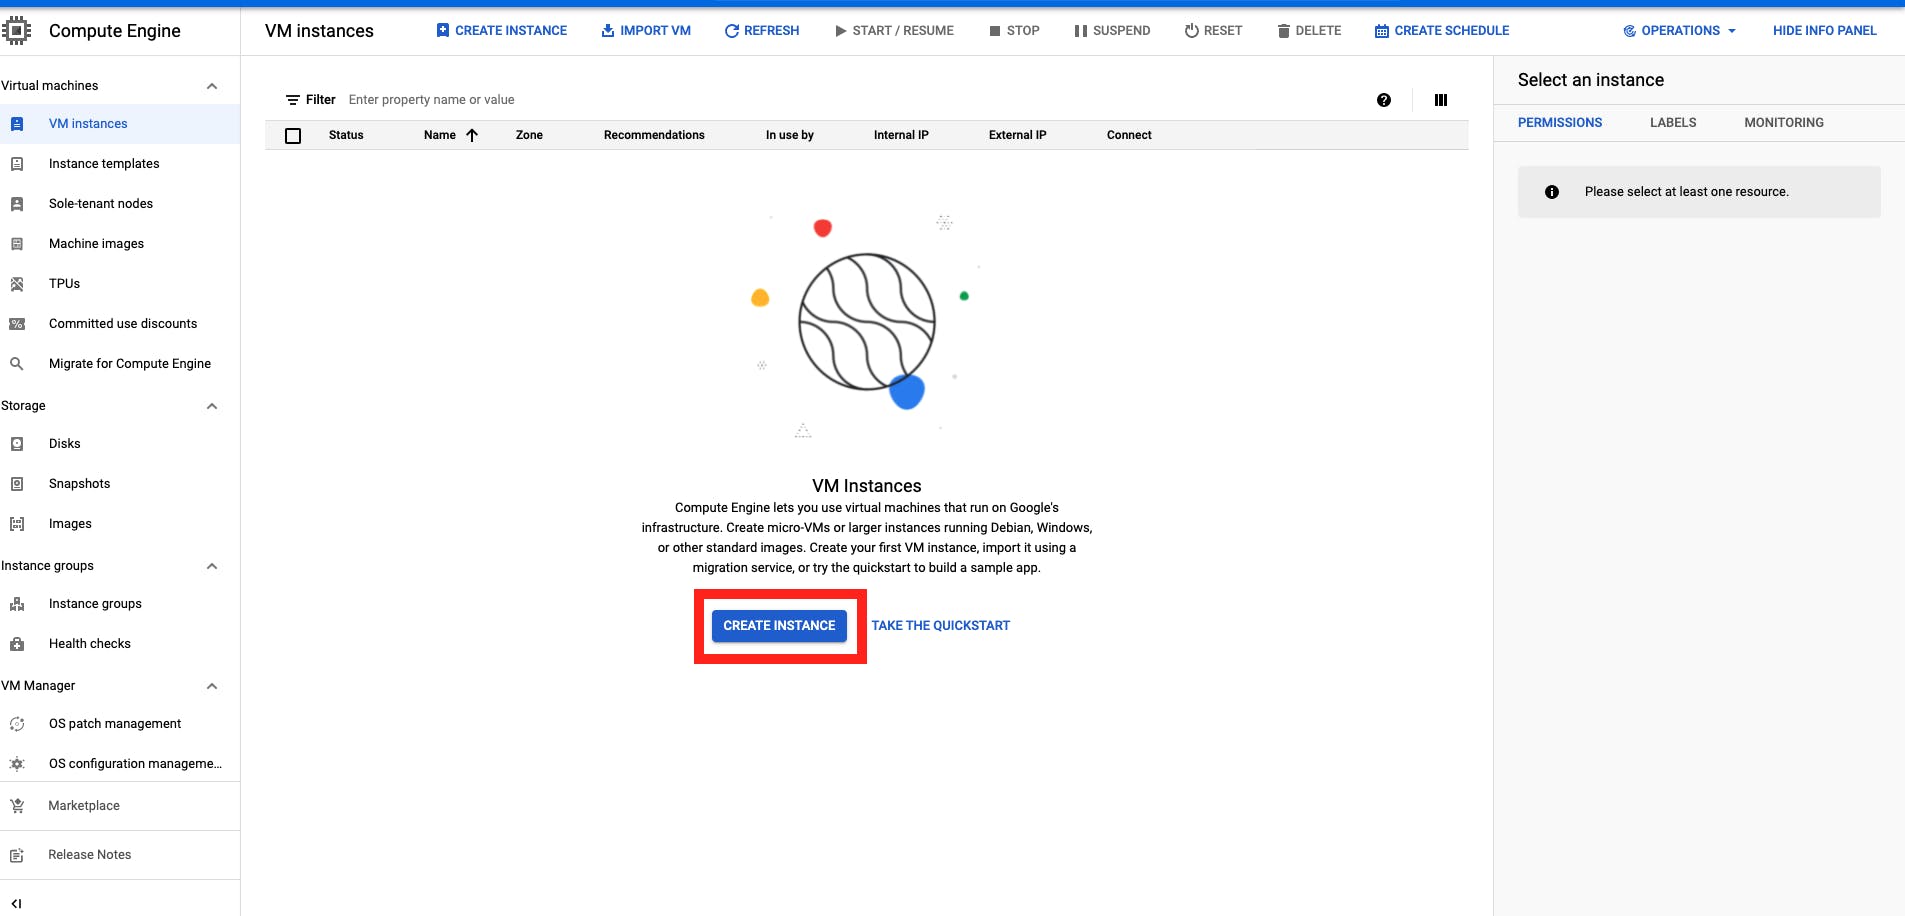
Activating trial lets you use all Google services with free $300 in balance in 90 days. After 90 days, Google will deduct directly from your credit card. To start using VPS, you need to "Create instance"
Choose VPS specs (vCPU, Memory, Disk space) as you need (pay attention to the monthly estimate - all you have is $300 for 3 months - that means the monthly estimate should be around $100 or less). You can choose to allow HTTP and HTTPS traffic if you need. This time, Ubuntu 18.04 LTS was chosen for example.

It takes about 30 seconds to create your Virtual Machine. After successfully creating VM, you will see a status page as below where you can see Internal and External IP (Write down this External Ip address for later connection)
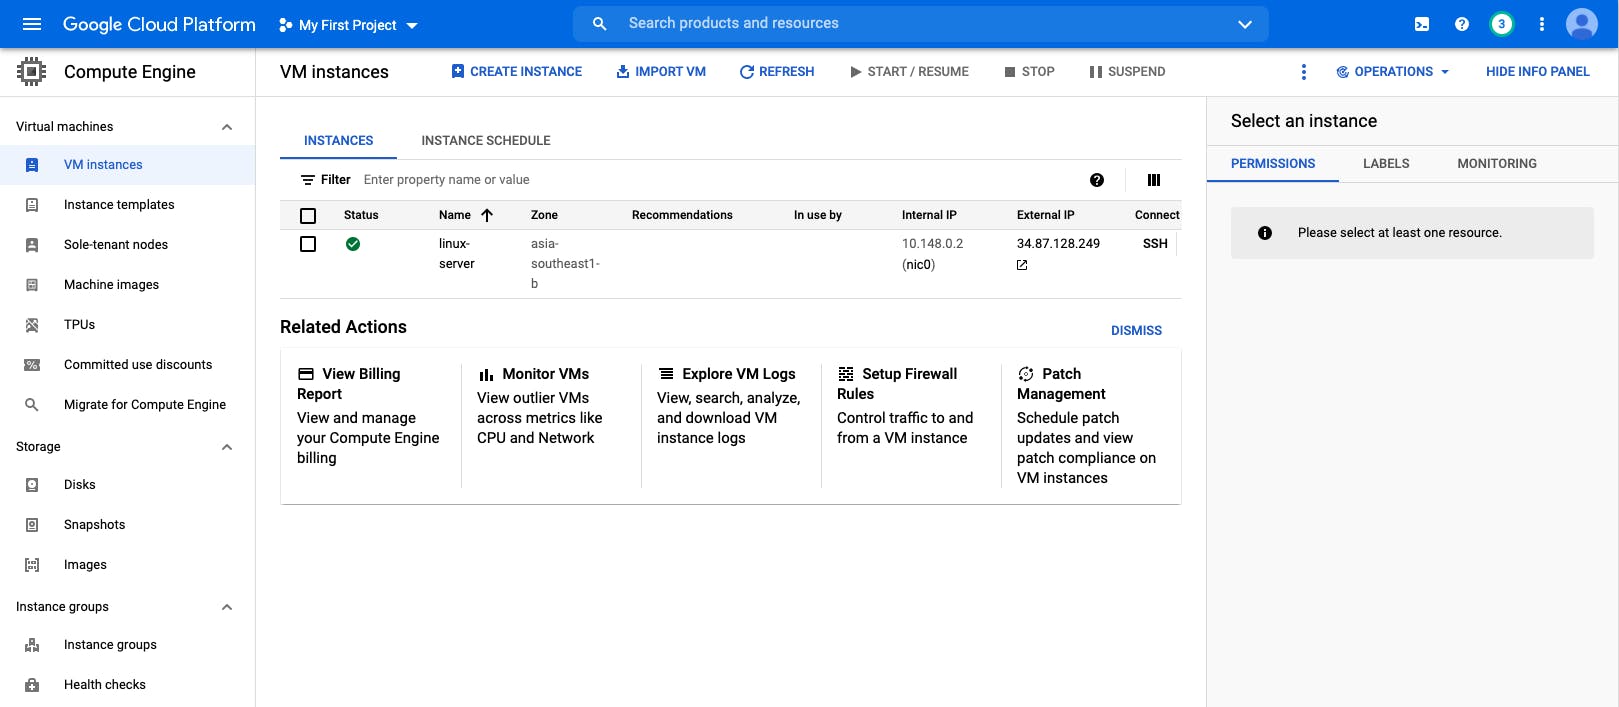
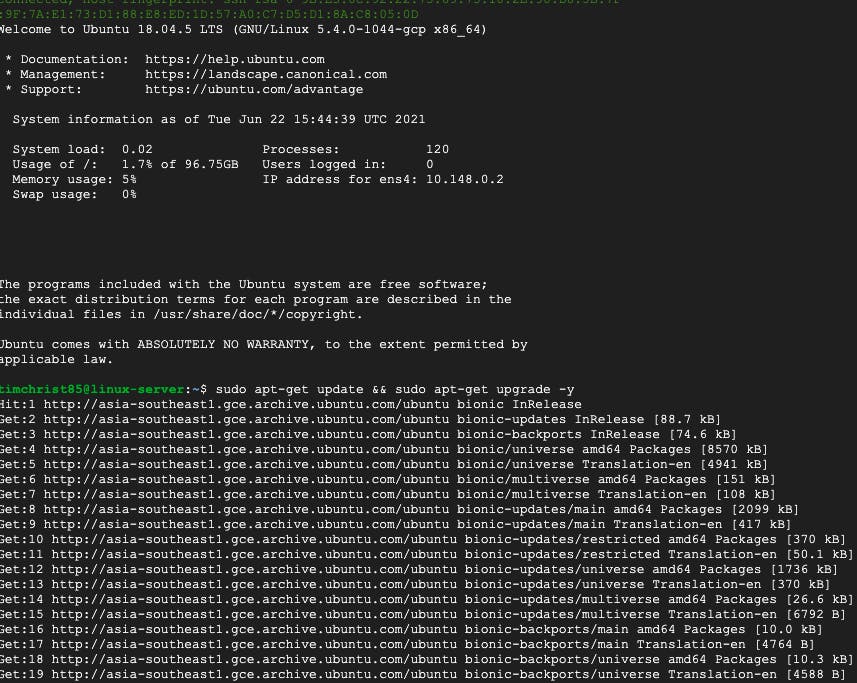
You can choose SSH to start using the terminal console of your VM.
2. Connect to VM via SSH
This part will show you how to generate an ssh pair key (private key and public key) on Linux or MacOs.
Open a terminal and use ssh-keygen to generate a new key. Specify the -C option to add a comment for your username.
ssh-keygen -t rsa -C [USERNAME]
In my case it was:
ssh-keygen -t rsa -C tienthanhapp278@gmail.com
Then navigate into .ssh directory and restrict access to the private key so that only you can read it and no one can write to it.
cd ~/.ssh
chmod 400 id_rsa
Open key file .pub, which was generated above, or use the cat command to read it:
cat ~/.ssh/id_rsa.pub
The public SSH key should be of this format:
ssh-rsa [KEY_VALUE] [USERNAME]
In my case it was:
ssh-rsa AAAAB3NzaC1yc2EAAAADAQABAAABAQCzQhq2ZNdqJQ4q5aAVxC+fzehmwHx07b5PHMTp1BXhjmXSnCgDOFnKvjOH+HDAmBJtceQQrswboJSnu4DtDL19g2Q8ihOm509Pm4icyDHpZqU6F7PYJoKFeaYDF6NdMi4pP7PBBKpiLRrxq7nmU4/FaoR8N9F9C3EIlqnxIp+bQWJZ+aYGfSoT6EAJaxwTjcJPgH93BbaIvSqjlBph8BqFo/8fJzcUY+w0AxBkNtCXN7o7mCBsiOmx6VMBfxehWsr3j7r9q7C4WIGwOiv7Iz0xQPTd/W9Si8agMYxTD+Uy4KwM0kX64JOQPYH9ItRyGAlwRzp1TImFxnFSy+fSkU73 tienthanhapp278@gmail.com
Copy the public key and save it to the SSH tab under the Metadata section
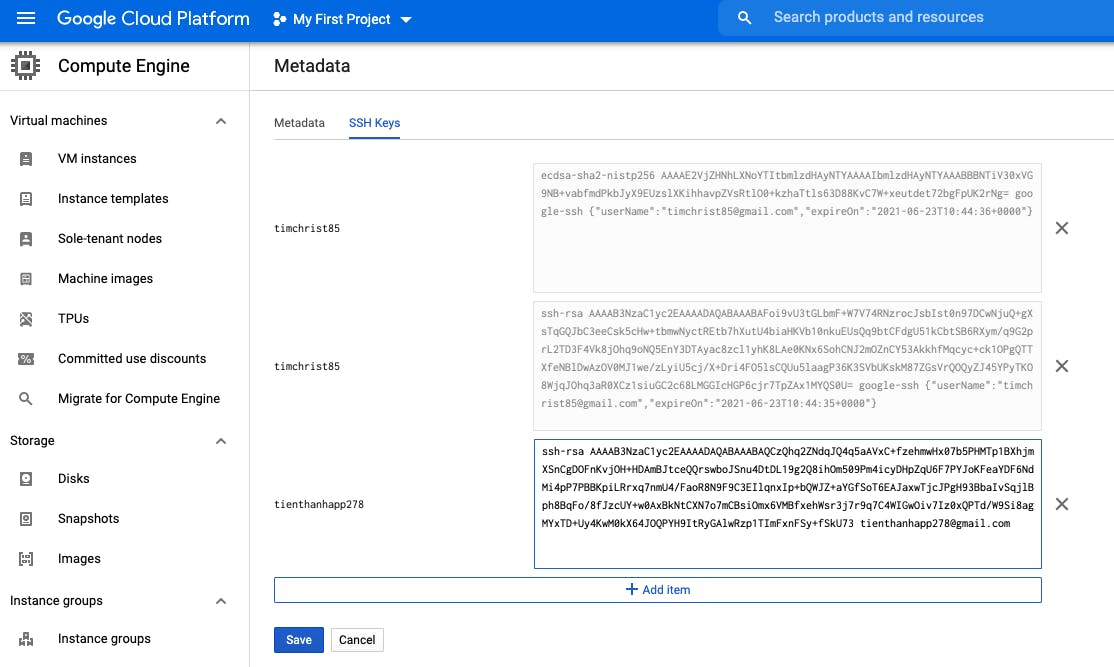
Click save and from now on you can ssh to VPS with the above ssh key.
ssh [Username]@[External IP]
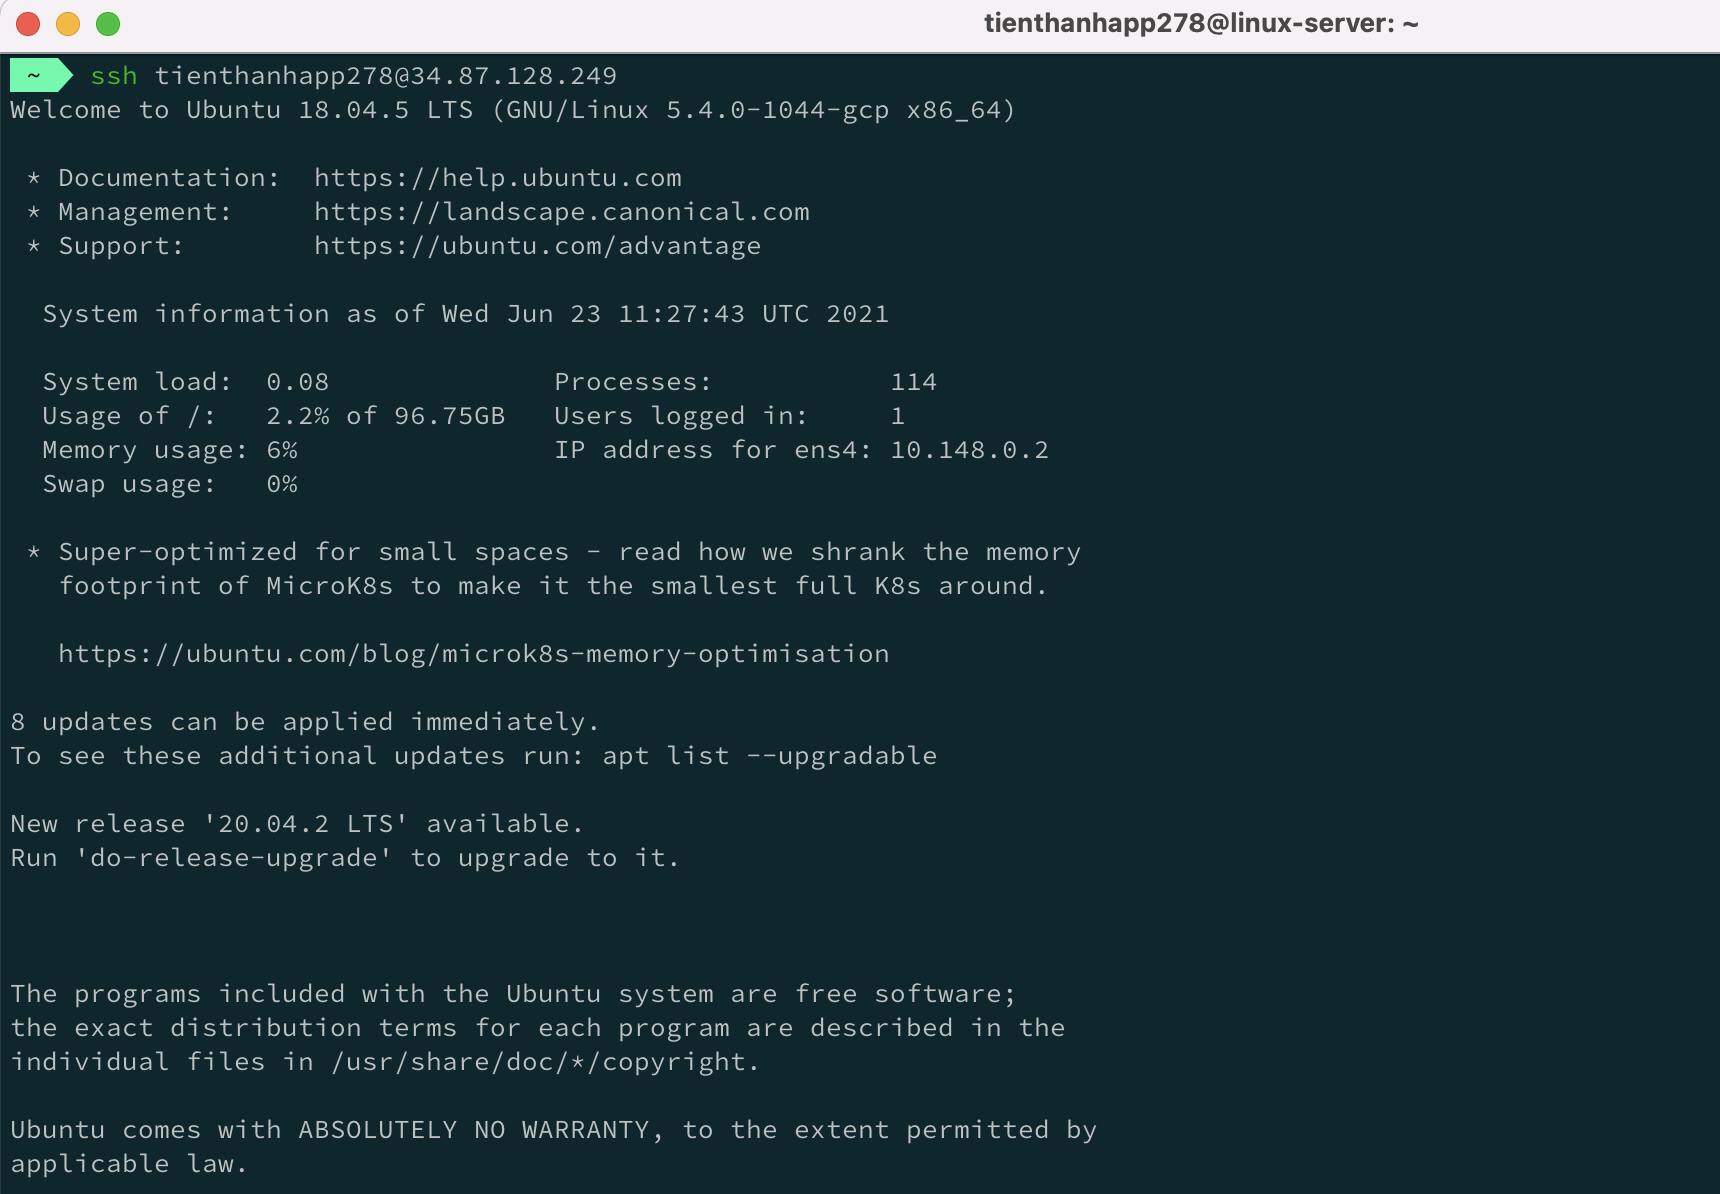
That's it! Now you can connect to your VPS without signing in to Google Cloud platform.